


If you’ve followed us from the days of Nest, you know how much we adore a little whimsy in the shop and this summer install was no exception! Now, I’ll be the first to admit that I do not appreciate bugs in my day-to-day life. Just the other day I had to ask Kasey to pick up a dead spider off of the floor because I’m too much of a wimp to do it myself (she happily came to my aid of course). While the real creepy crawlies aren’t my jam, paper and playful folk art ones are a completely different story.
The customers who attended our Summer Solstice event loved them so much we decided to keep them up longer than anticipated, and decided we should share them with everyone here too! As a part of our How it’s Built series, I’ll be walking all you DIYers out there through the creative process of our recent installs and displays.
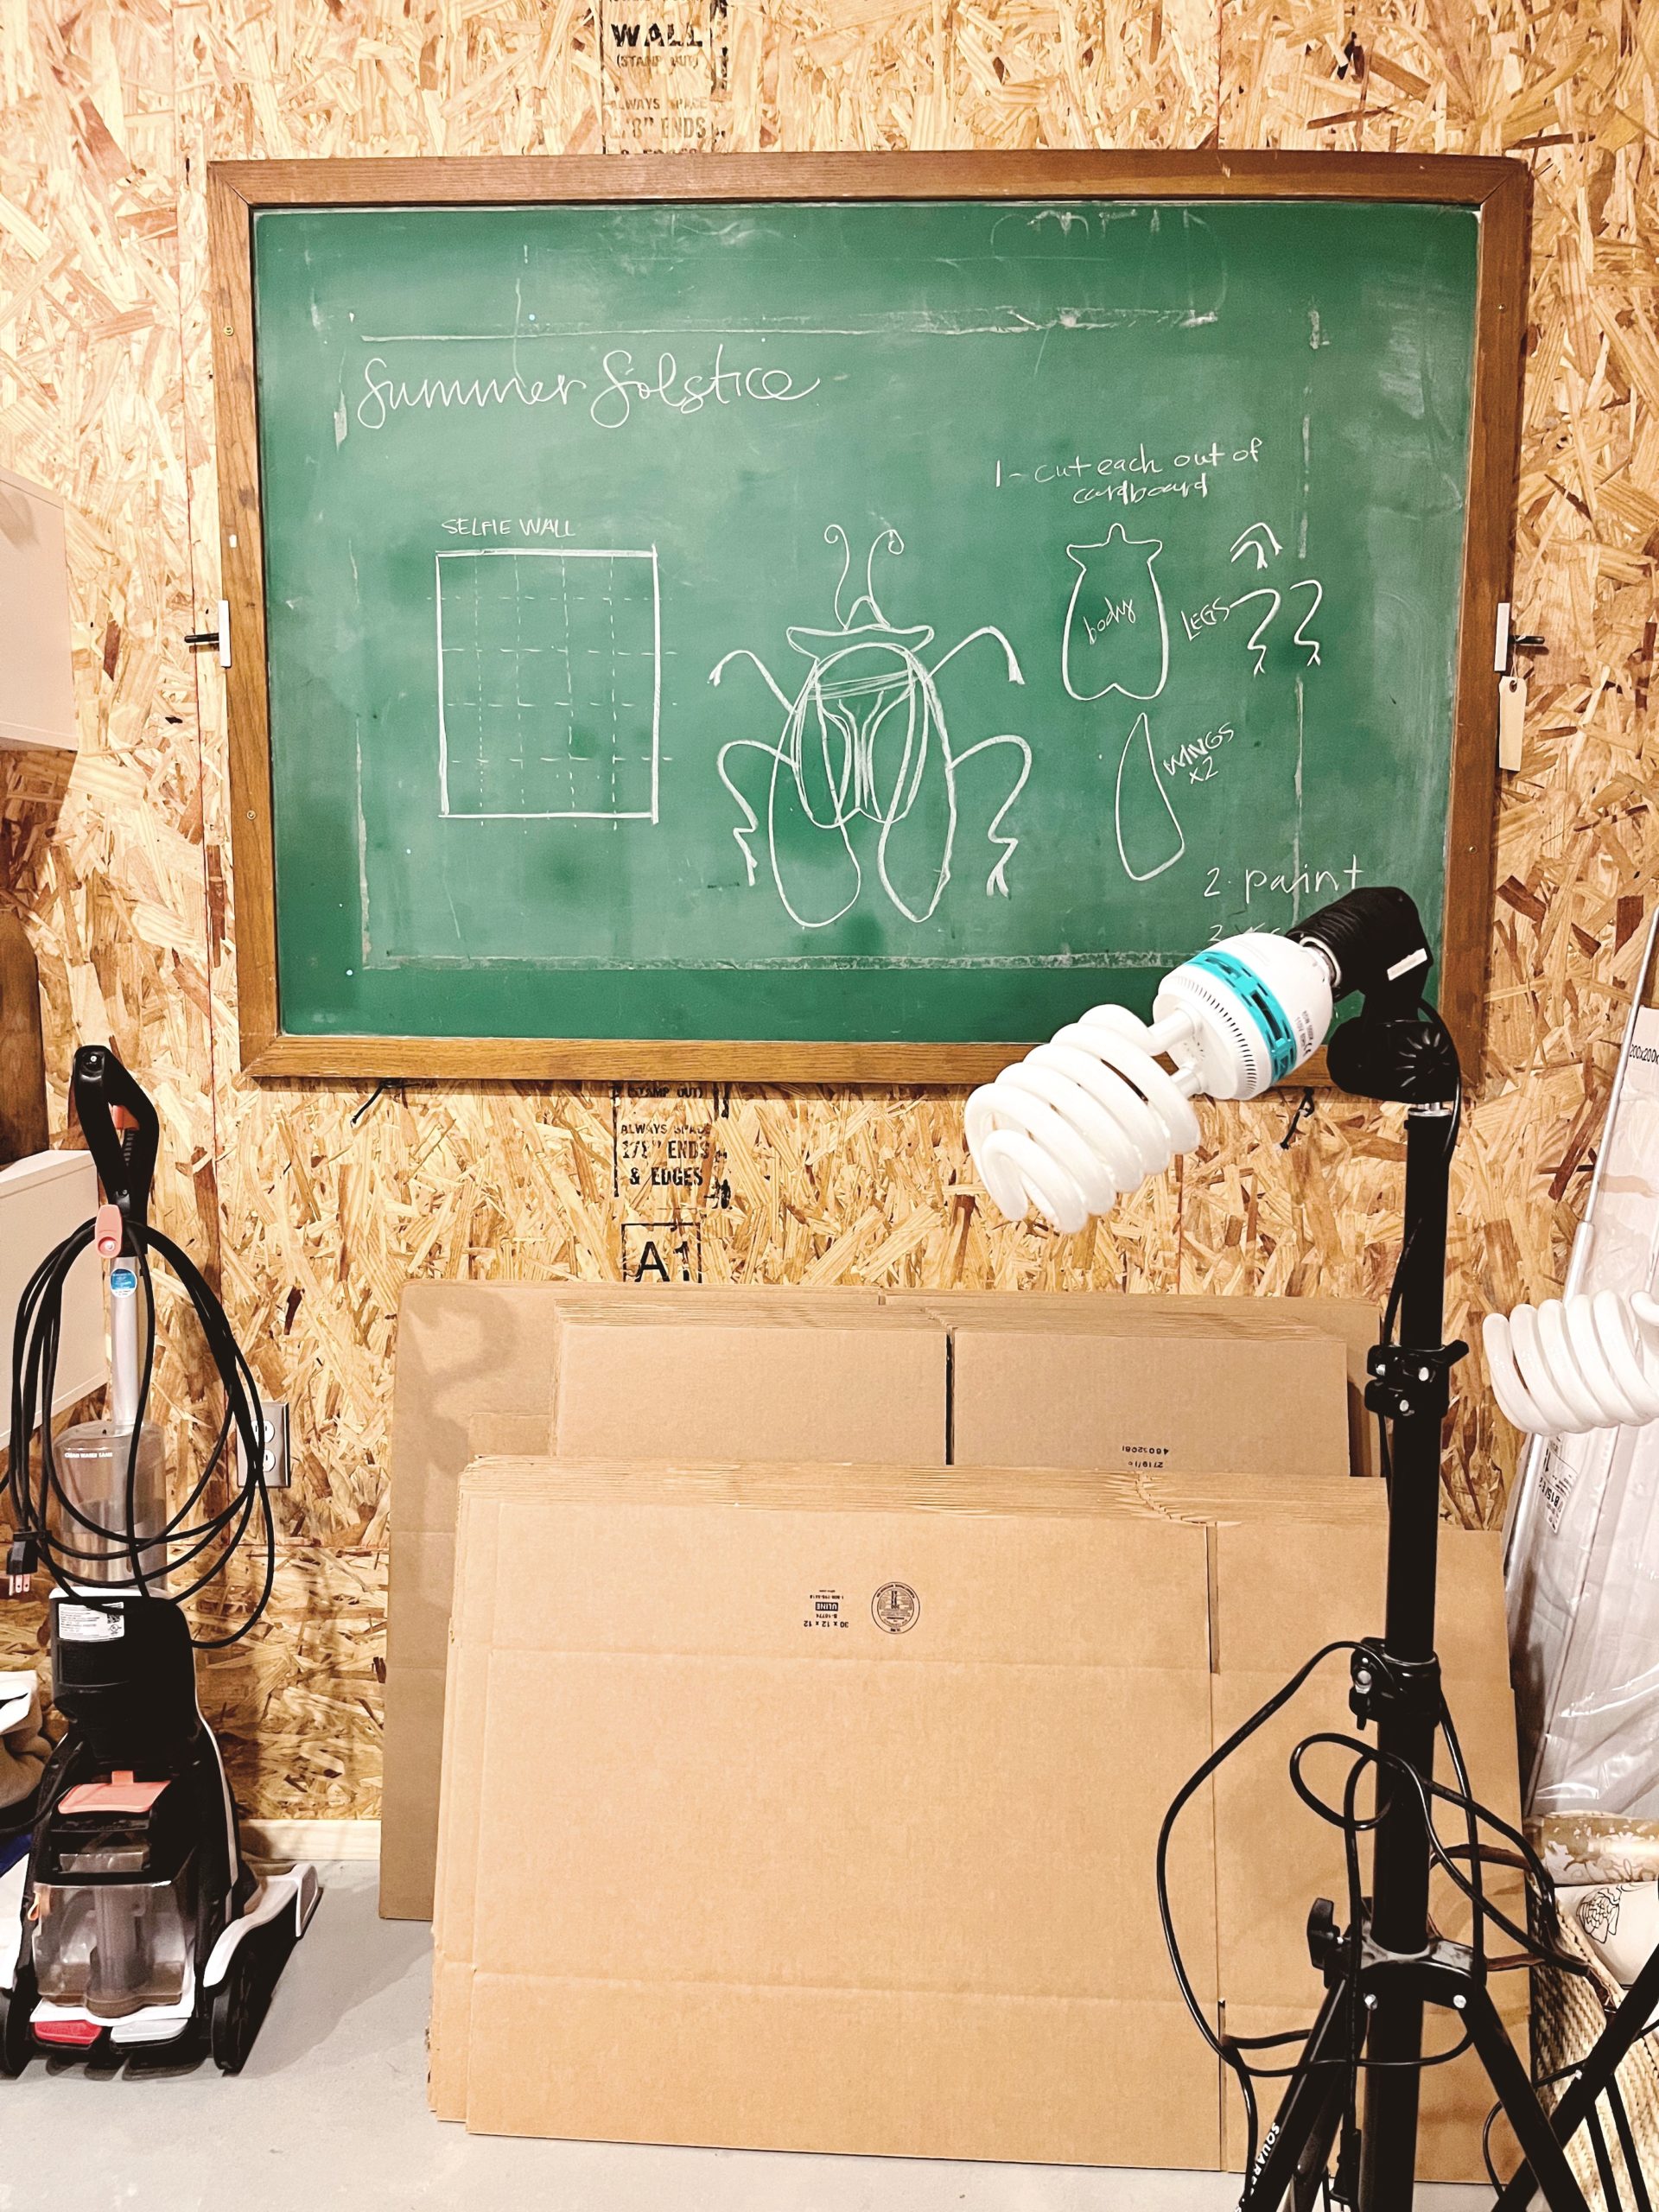
Being conscious of waste is always important to us here at the shop, and I wanted to avoid buying any materials for this project. Obviously old boxes are plentiful at our 15,000 square foot retail shop, so I snagged a stack of broken-down boxes to use for the bugs base material. Then I sketched a basic plan of what I wanted each bug to look like and how I wanted to layer the different body parts to make them a little more three-dimensional.
Bug parts were everywhere.
After I planned out the sizes, it was off to my parent’s workshop. I decided that it would be easier to keep the boxes intact so that we could cut duplicate bugs out of one box. After sketching the outlines onto all the cardboard, we started up the scroll saw and we got to cutting!
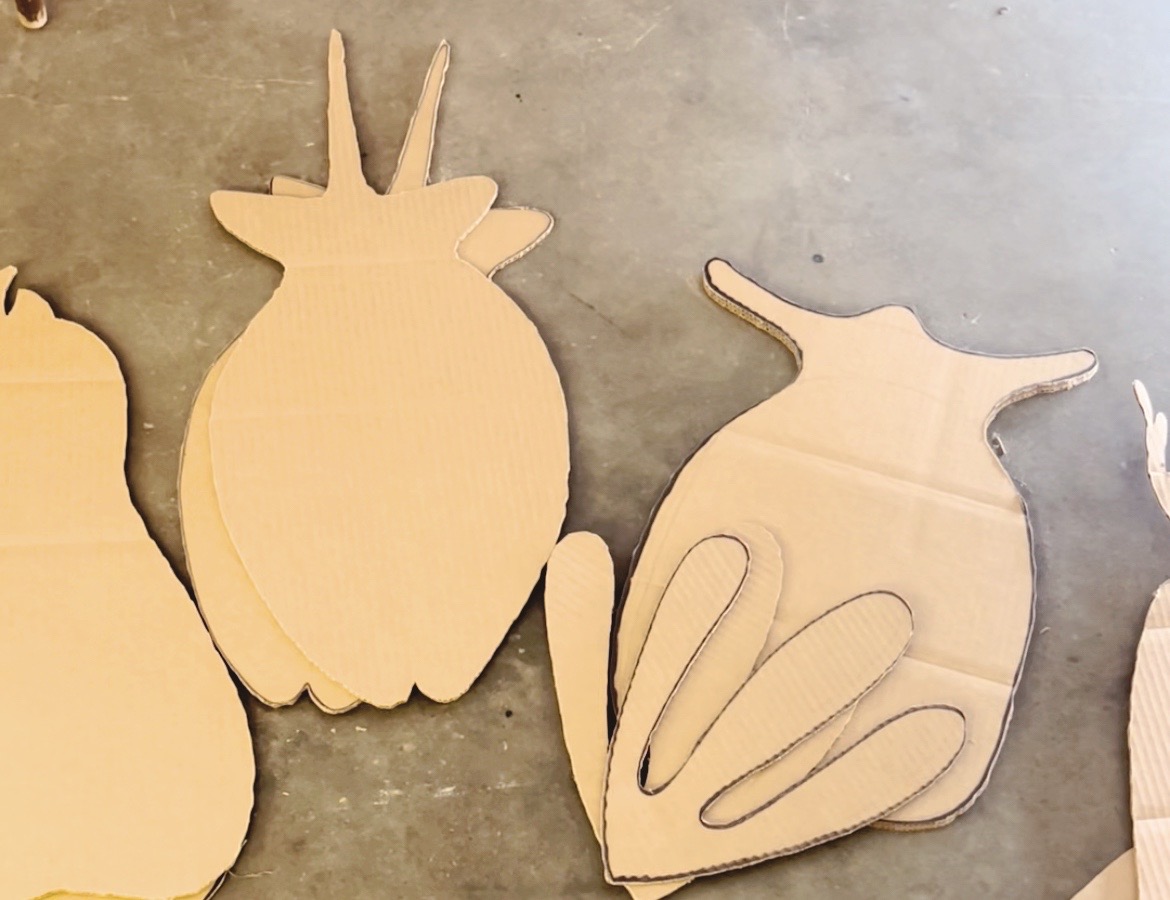
I can honestly say that using the saw made our work 1,000 times easier. Cutting out 20+ bugs with an Exact-O knife or box cutter would have made it incredibly difficult to get clean edges on all of the cardboard. This saved us time, energy, and a LOT of patience. After all our cuts were made, I hauled them back to Bushland for painting.
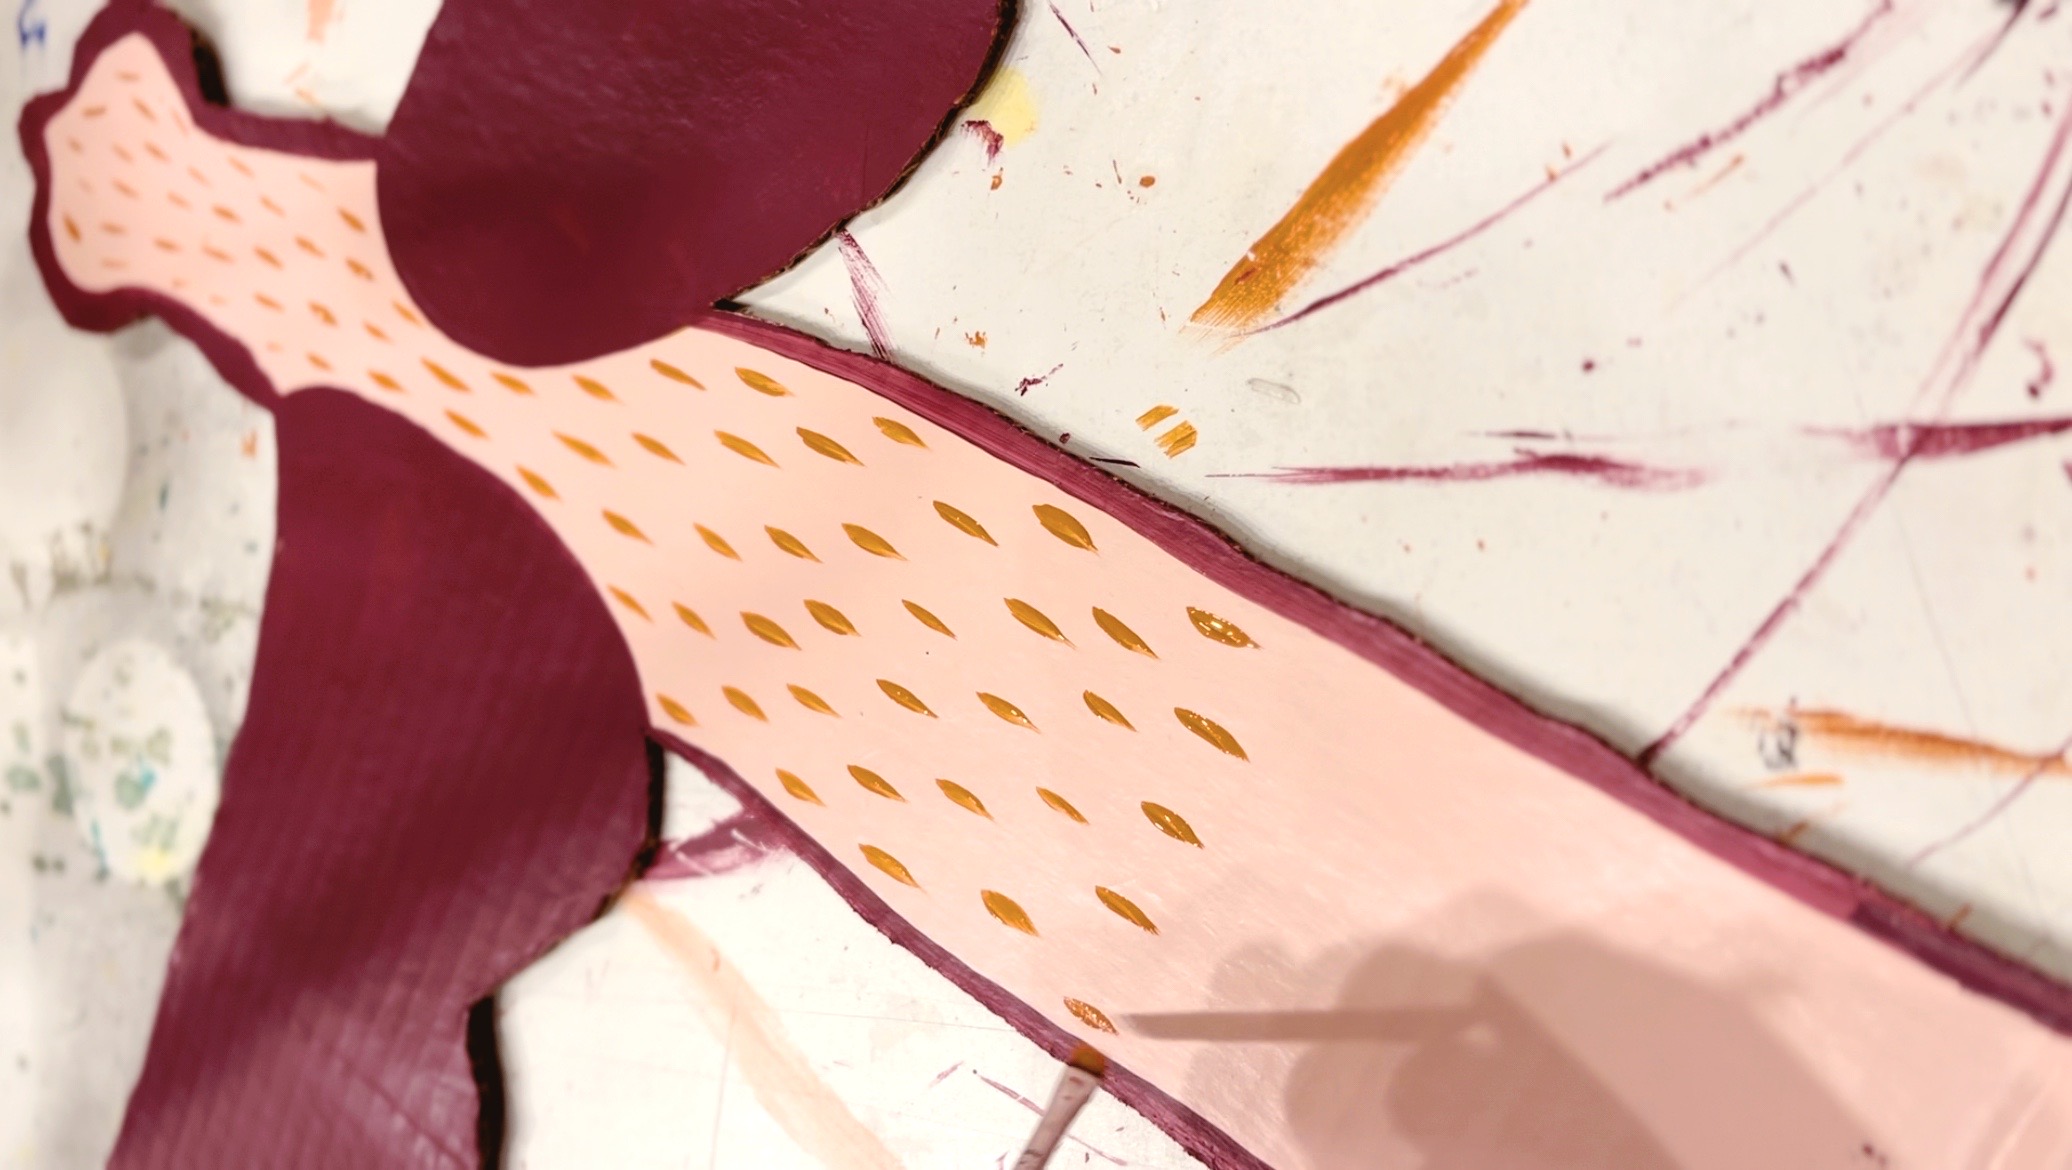
Painting these critters was definitely the most time-consuming part of the project. I originally spray-painted all of them to get a good coverage over the cardboard, but I didn’t like the texture it left behind and wound up painting all of them by hand. For projects like this, I tend to use interior house paint rather than regular craft or acrylic paint for better coverage. With the folk art designs I had planned, the goal was to get good coverage in one swipe instead of coating on layers and layers of craft paint. Some people don’t want to spend the money on Behr paint, but a small sample of a color isn’t much more $$ than a decent tube of acrylic paint (plus it will save you time!). I had plenty of samples left over from previous projects that fit with our color scheme, so I didn’t have to purchase any paint for this install and saved myself a trip to the hardware store. Win-win!
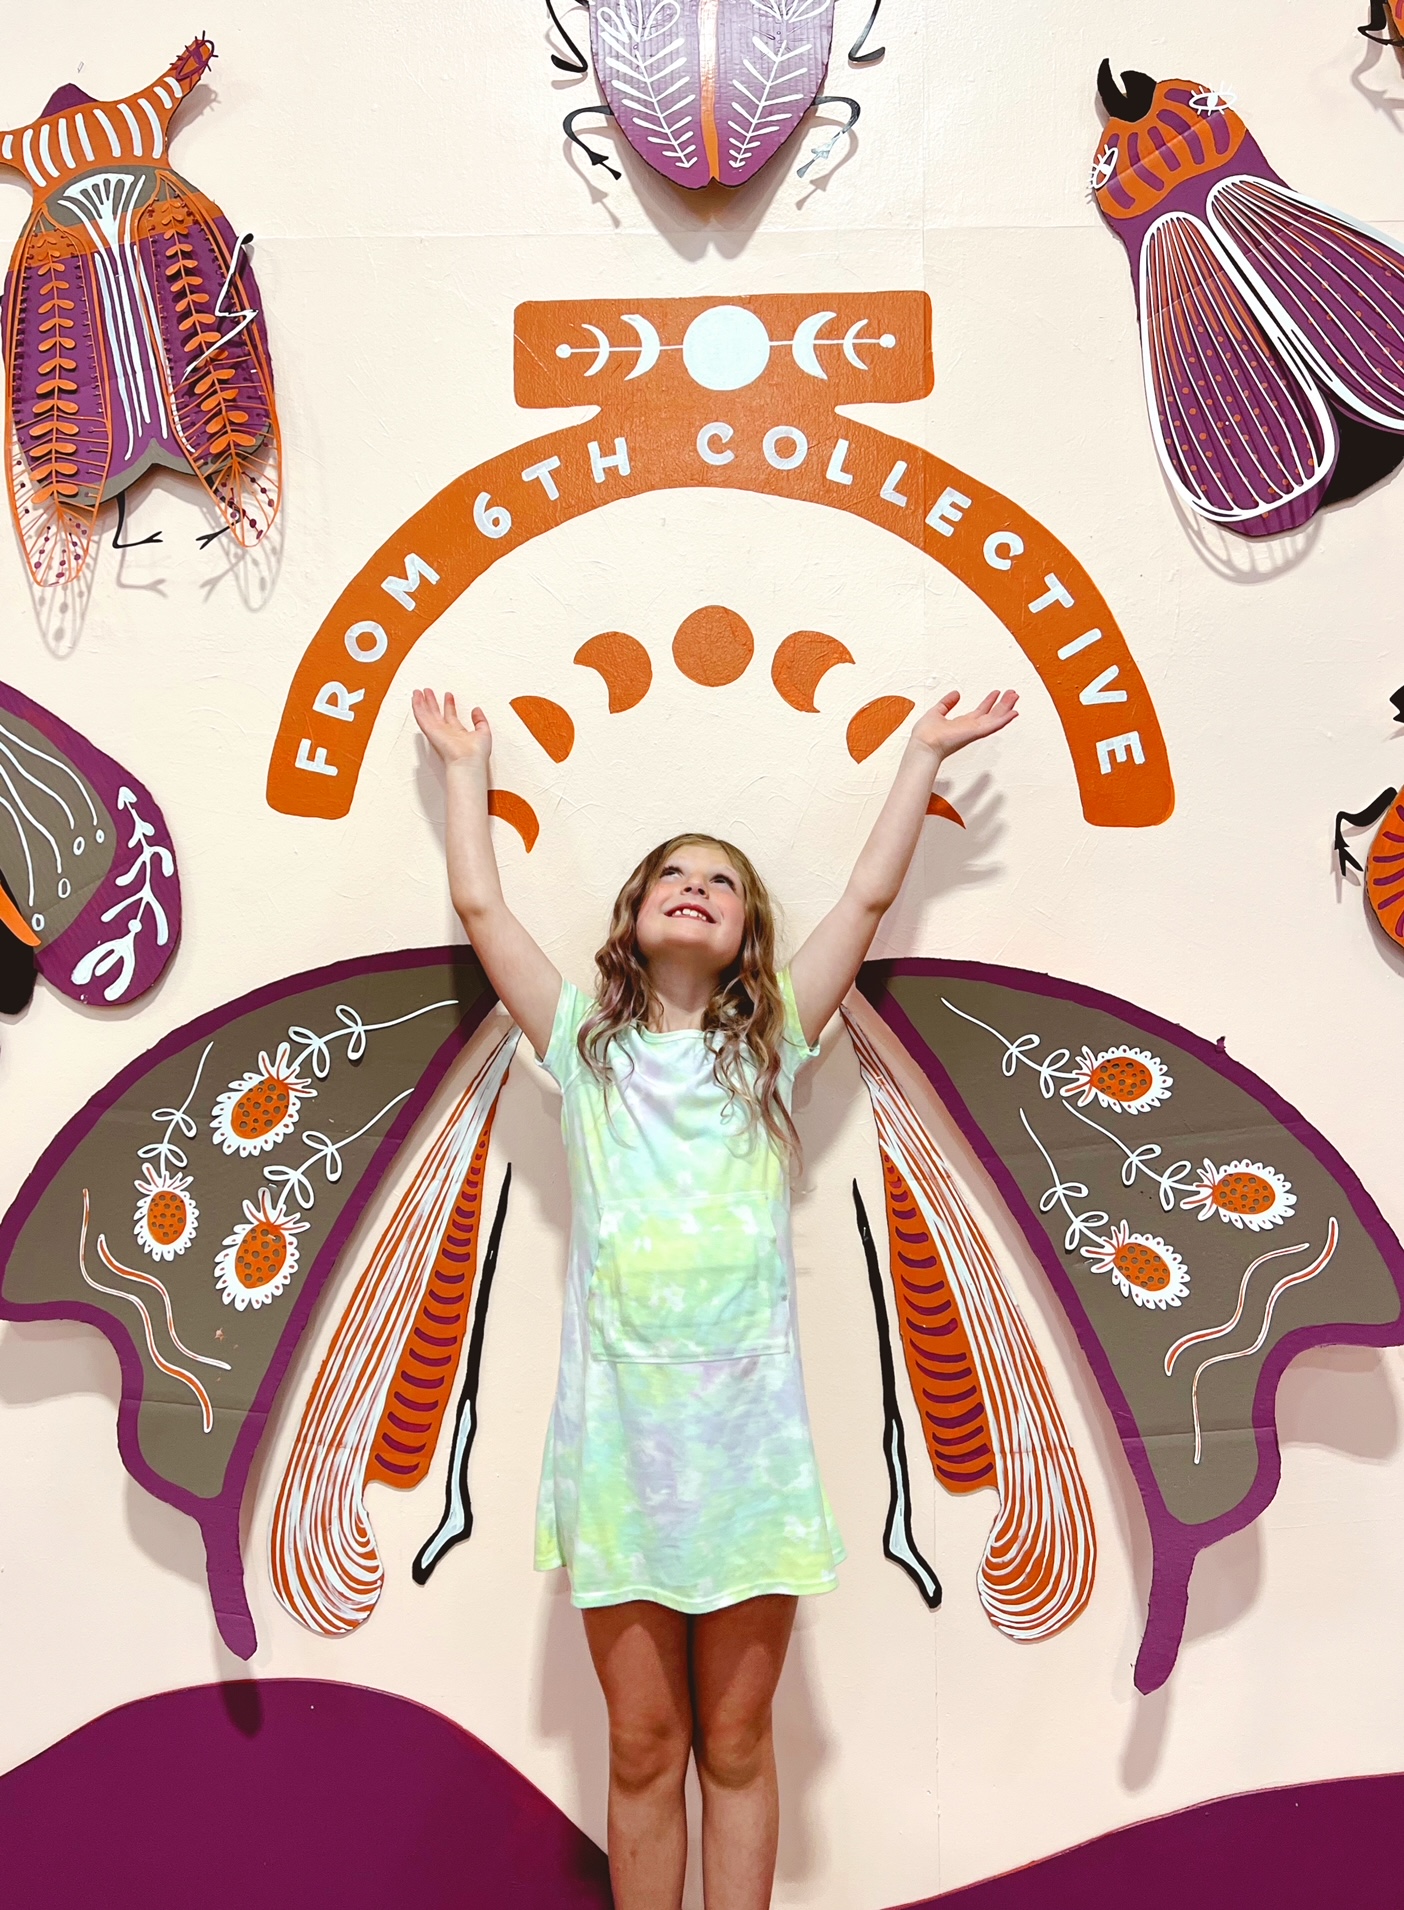
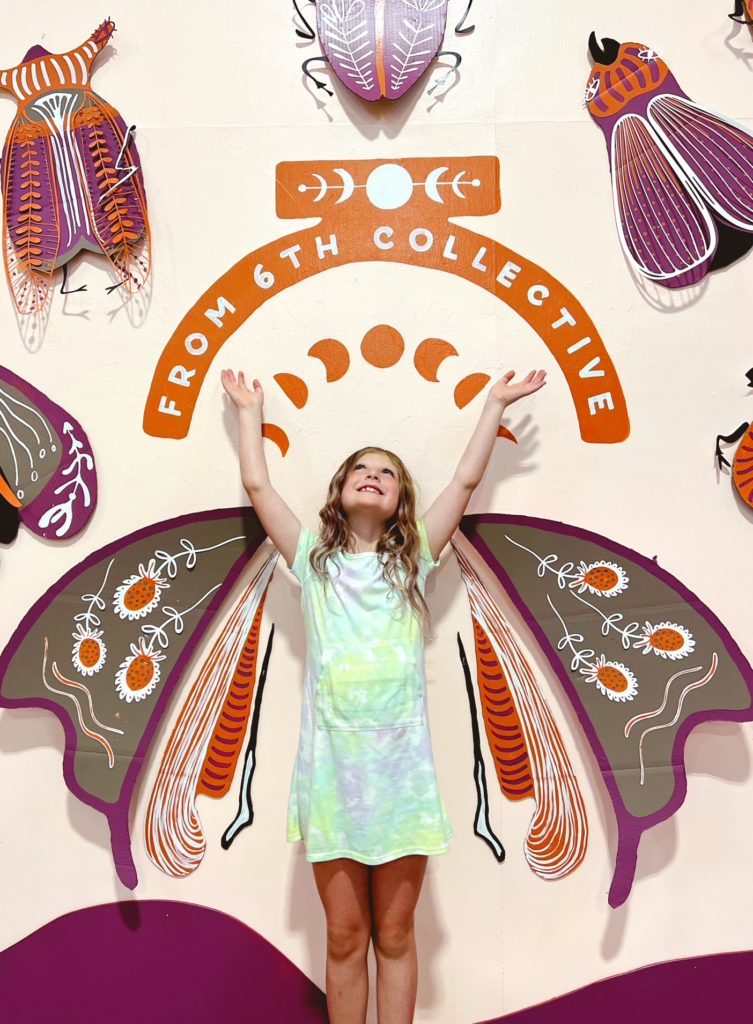
I wanted to add an extra little movement to each bug, so I decided to cut all of the wings and other designs out of some leftover poster board from another project. While the paint was drying on the bugs, I started up our Cricut and began cutting out legs, antennae, and some of the more intricate wing designs. Once they were cut, I painted them and attached them with super glue to the bodies of the bugs. After everything was dry, it was time to install! We attached everything to the wall using a staple gun, and they turned out SO cute! We even made an extra large pair of wings for guests to stand in for a quick selfie.
If you haven’t been out to The Collective, now is the time! These cutie little critters will be up through July. Don’t forget that this month is also our first Camp Collective! You can check out all the details here.
Hope to see you all out west!
xoxo
Kat


comments